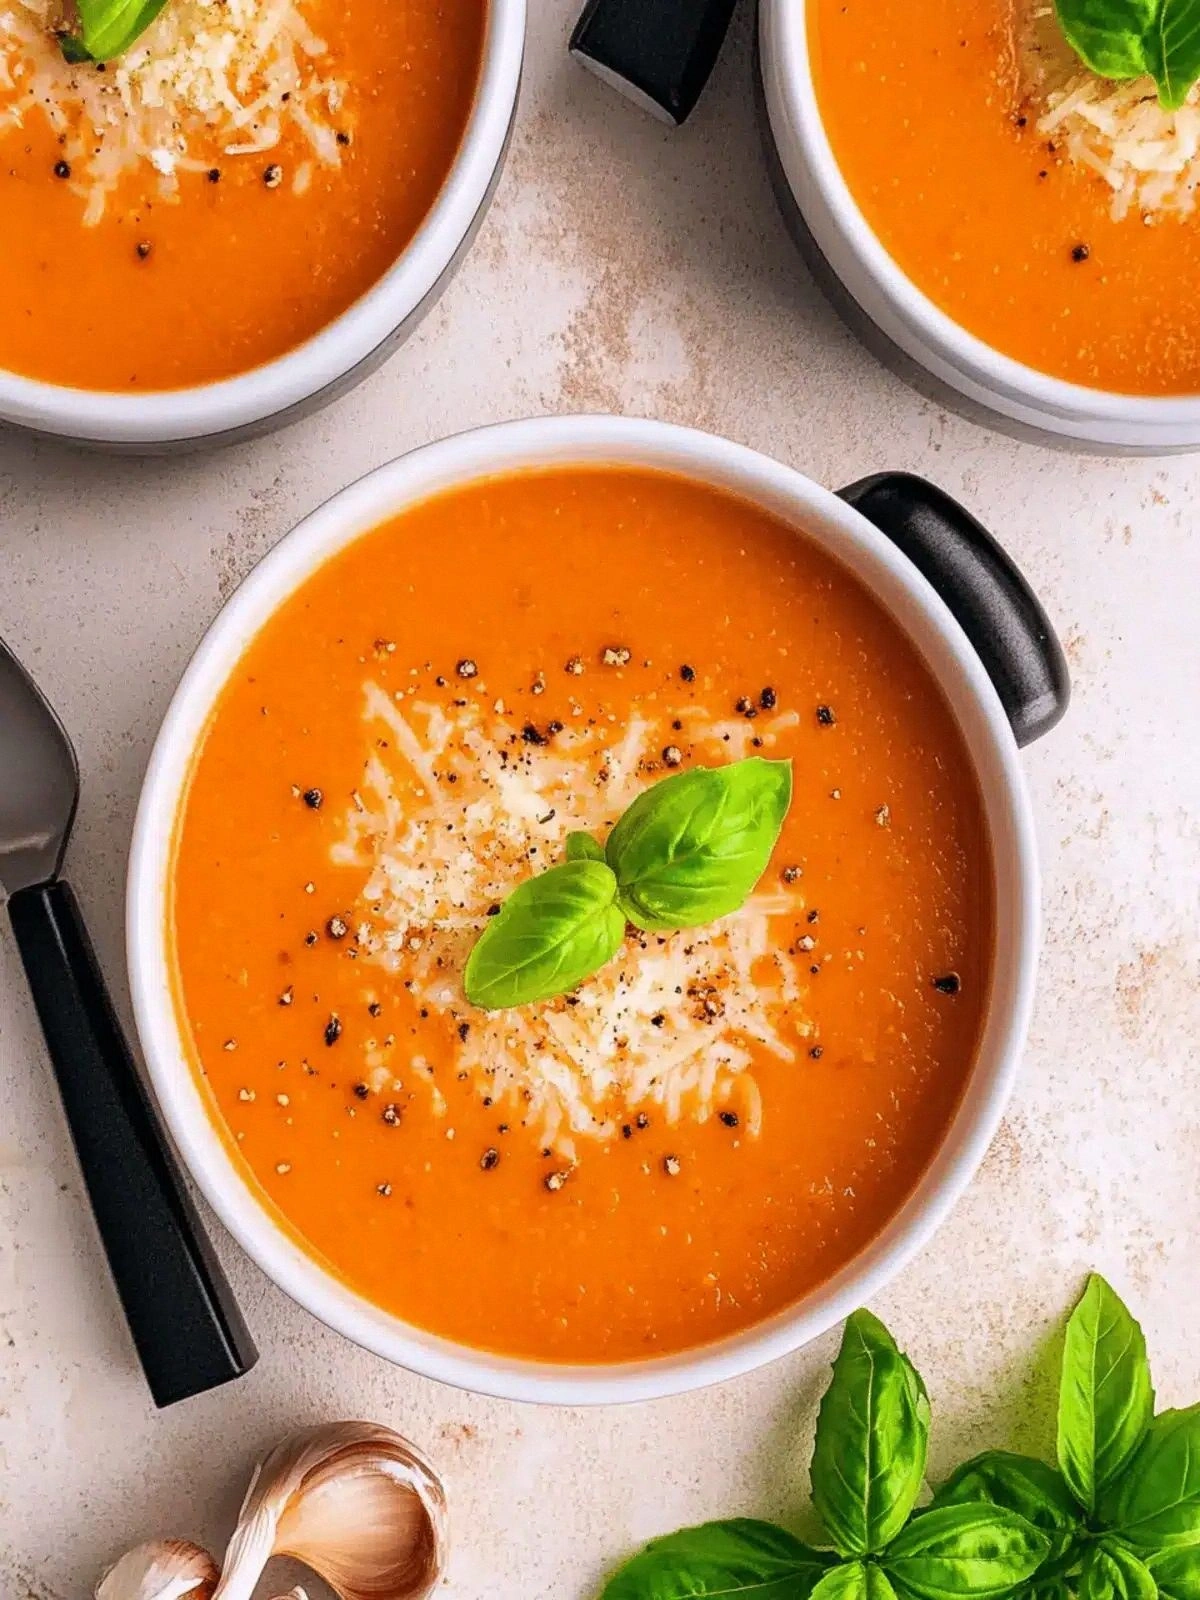
I was standing in my kitchen, staring at a mountain of potatoes that had somehow escaped the grocery store's neat rows, when my friend dared me to turn them into something extraordinary. I laughed, because we were talking about making mashed potatoes, but then I thought, why not make them crispy, golden, and utterly addictive? That moment sparked a culinary experiment that turned an ordinary side dish into a showstopper. By the end of the night, the kitchen smelled of buttery steam and the crunch of a perfect crust, and I knew I had found a new favorite.
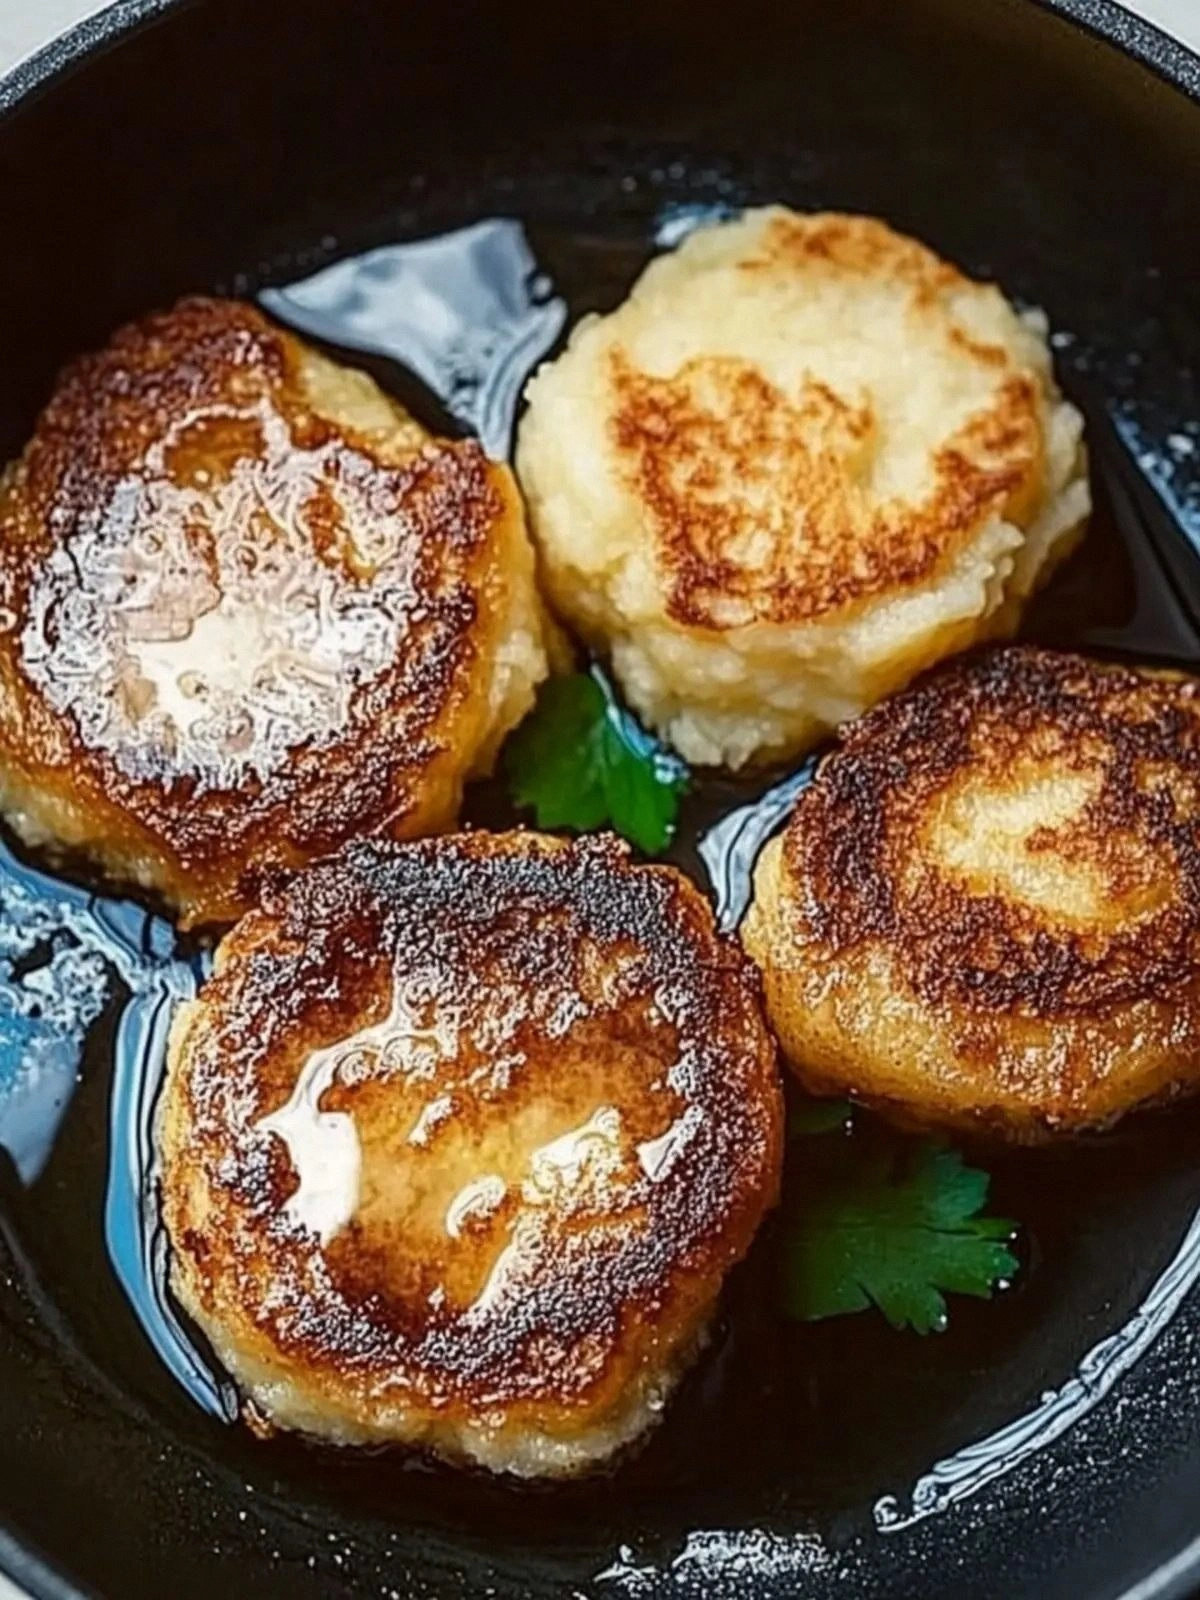
Picture this: a bowl of fluffy, velvety mash that, when pressed into a pan, turns into a crisp, golden patty that crackles like a fresh snowflake on a hot pan. The aroma that rises when the butter meets the oil is a promise of comfort, while the faint metallic tang of cheese hints at depth. As the surface sears, it releases a buttery sheen that glistens under the kitchen light, a visual cue that the transformation is happening. I swear, that sizzle is the soundtrack of culinary triumph.
What sets this recipe apart from the endless variations you find online is its razor‑thin ingredient list paired with a technique that guarantees a crunch you’ll never forget. There’s no need for heavy creams or fancy seasonings; just a handful of staples, each chosen for its specific role in the final texture. The result? A dish that feels indulgent yet stays true to the humble potato, delivering both comfort and sophistication in one bite. If you’ve ever tried a potato cake that falls apart or tastes bland, this is the antidote you’ve been waiting for.
Now, I’ll walk you through every single step—from selecting the perfect russet to the final flip—so that by the time you’re done, you’ll wonder how you ever made it any other way. The secret is in the balance of moisture and fat, and the timing that creates that satisfying crack. I’ll reveal a trick that might surprise you: a splash of oil that turns the edges into a golden halo. Ready? Let’s dive in.
What Makes This Version Stand Out
- Texture: The combination of flour and egg creates a batter that holds together while still allowing the inside to stay creamy. When cooked, the exterior forms a crisp shell that snaps like a fresh piece of parchment, while the interior remains cloud‑like.
- Flavor: Using kosher salt twice—once on the potatoes and again in the batter—layers a clean, unobtrusive saltiness that lets the cheese shine without overpowering.
- Speed: In less than 45 minutes, you go from raw tubers to golden delights, making it a perfect weeknight or last‑minute gathering dish.
- Versatility: The batter is neutral enough to accommodate a wide range of cheeses or herbs, yet firm enough to hold its shape.
- Presentation: The golden edges and glossy finish make for a plate that looks as good as it tastes, ideal for impressing guests.
- Health‑Friendly: By eliminating heavy creams and using a single egg, you keep the dish lighter while still achieving that rich mouthfeel.
- Make‑Ahead: Once cooked, the cakes can be cooled and stored, then reheated to crisp up again—great for meal prep.
Inside the Ingredient List
The Flavor Base
Russet potatoes are the cornerstone of this dish. Their high starch content gives the mash a silky texture that melts in your mouth. Choosing firm, unblemished potatoes ensures a smooth mash without lumps. If you can’t find russets, Yukon Golds are a decent substitute, though they’ll yield a slightly buttery flavor.
Kosher salt, used twice in this recipe, is the unsung hero. The first tablespoon coats the potatoes, drawing out moisture and concentrating flavor. The 4.5 teaspoons in the batter provide a subtle, even seasoning that doesn’t overpower the cheese. If you prefer a different salt, sea salt or Himalayan pink salt can be used, but adjust the amount to taste.
The Texture Crew
Cheddar or a sharp white cheddar adds depth and a savory tang that cuts through the richness. Use 3 ounces for a balanced bite—too much cheese can make the cakes soggy. A quick melt over low heat ensures the cheese integrates smoothly into the mash. If you’re vegan, a dairy‑free cheese or nutritional yeast can be an interesting twist.
Unsalted butter is the fat that gives the crust its buttery richness. Four tablespoons spread throughout the mash provide a glossy sheen and help the batter bind. If you’re watching sodium, consider using a small amount of olive oil instead, though the flavor profile will shift slightly. Butter also enhances the Maillard reaction, creating that irresistible golden color.
The Unexpected Star
The egg is the binding agent that turns the mash into a cohesive cake. It also adds a subtle richness that deepens the flavor. One large egg is enough for four servings; if you’re cooking for more, scale proportionally. If you’re allergic, a tablespoon of aquafaba can serve as a substitute, though the texture will differ slightly.
All‑purpose flour provides structure. Half a cup is enough to hold the batter together without making it doughy. Using whole‑wheat flour will add fiber and a nutty taste but may change the crumb. Keep the flour sifted to avoid lumps.
The Final Flourish
Freshly ground black pepper adds a subtle heat that balances the richness. Half a teaspoon is enough to taste; too much will dominate the delicate flavors. A pinch of smoked paprika can add a smoky undertone, especially if you’re serving it with a barbecue sauce. The 0.75 cup of vegetable oil is the key to crisping the exterior; it should be hot enough to sizzle when the batter hits the pan.
Everything's prepped? Good. Let's get into the real action.
The Method — Step by Step
- Start by peeling the russet potatoes and cutting them into uniform 1‑inch cubes. Uniformity ensures even cooking, so no half‑cooked or mushy spots. Place the cubes in a large pot and cover with cold water, adding a pinch of salt. Bring to a rolling boil and let simmer for 15 minutes, or until the potatoes are fork‑tender.
- Drain the potatoes and return them to the pot. Add the tablespoon of kosher salt and mash with a potato masher until you reach a smooth, lump‑free consistency. The goal is a silky base that will absorb the egg and flour without becoming gummy.
- Stir in the melted butter, shredded cheese, and egg until the mixture is glossy and cohesive. The butter should coat every crumb, and the cheese should melt into the mash, creating a rich, uniform color. At this point, the batter feels thick but still pourable.
- Fold in the all‑purpose flour, 0.5 teaspoon pepper, and the remaining 4.5 teaspoons kosher salt. Mix until the flour is fully incorporated, but be careful not to overmix, as that can develop gluten and make the cakes chewy. The batter should be thick enough to hold its shape when spooned.
- Heat the vegetable oil in a large skillet over medium‑high heat. You’ll know it’s ready when a drop of batter sizzles and the oil shimmers. This step is crucial; under‑heated oil will produce soggy edges, while over‑heated oil can burn.
- Using a tablespoon, drop spoonfuls of the batter into the hot oil, spacing them 2 inches apart. Gently press each patty to flatten, forming a disc about 1‑inch thick. The batter should sizzle immediately, and the edges will start pulling away from the pan within 30 seconds.
- Cook the first side for 3–4 minutes until a golden crust forms. The aroma of toasted butter and melted cheese will fill the kitchen. Flip carefully with a spatula, and cook the second side for an additional 3 minutes. The interior should still feel warm and creamy.
- Transfer the finished cakes to a paper towel‑lined plate to drain excess oil. Let them rest for 2 minutes; this allows the steam to escape and the crust to firm up. If you’re cooking in batches, keep the finished cakes warm in a low oven (200°F) until all are ready.
- Serve immediately with a dollop of sour cream or a drizzle of garlic aioli. The contrast of the crisp exterior and the soft, cheesy center will keep your guests coming back for seconds. I dare you to taste this and not go back for seconds.
- If you’re feeling adventurous, sprinkle a pinch of smoked paprika or a handful of fresh herbs over the top before serving. This adds a pop of color and an extra layer of flavor. Remember, the key to perfection is in the timing and the crispness of the edges.
That's it — you did it. But hold on, I've got a few more tricks that'll take this to another level.
Insider Tricks for Flawless Results
The Temperature Rule Nobody Follows
Many cooks lower the heat once the batter hits the pan, but the secret is to keep the oil at a steady 350°F. A consistent temperature ensures the exterior crisps without burning while the interior stays moist. Use a thermometer or drop a small amount of batter; if it sizzles evenly, you’re good.
Why Your Nose Knows Best
When the batter is about to finish, the scent of browned butter will reach a sweet, nutty note. That aroma signals the perfect moment to flip. Trust your nose; it’s the quickest way to avoid over‑cooking.
The 5-Minute Rest That Changes Everything
After you transfer the cakes to a paper towel, let them sit for exactly five minutes. This pause allows the steam to escape, preventing soggy bottoms and giving the crust a satisfying crunch. It also lets the flavors meld.
The Right Pan Size Matters
A 10‑inch non‑stick skillet is ideal; it’s large enough for even heat distribution and small enough to keep the batter from spreading too thin. A cast‑iron pan works too, but you’ll need to pre‑heat it longer to avoid sticking.
The Secret Ingredient Swap
If you’re a fan of garlic, stir in a teaspoon of minced garlic with the butter. The garlic will caramelize slightly, adding a subtle depth that pairs beautifully with the cheese. Just be careful not to burn it, or the flavor will turn bitter.
Creative Twists and Variations
This recipe is a playground. Here are some of my favorite ways to switch things up:
Herb‑Infused Delight
Add a tablespoon of chopped fresh rosemary or thyme to the batter. The herbs infuse the mash with aromatic notes, turning the cakes into a fragrant centerpiece. Serve with a lemon‑yogurt dip for a fresh contrast.
Spicy Jalapeño Kick
Dice a fresh jalapeño and mix it into the mash. The heat pairs beautifully with the creamy cheese, giving a lively bite. A drizzle of chipotle mayo completes the flavor profile.
Smoked Gouda Upgrade
Swap the cheddar for smoked gouda. The smoky undertone adds depth, making the cakes feel like a gourmet appetizer. Pair with a glass of crisp white wine for an elegant touch.
Vegan Version
Replace the butter with coconut oil, use a plant‑based cheese, and substitute the egg with a tablespoon of aquafaba. The result is a plant‑based cake that still delivers that satisfying crunch and creamy interior.
Breakfast Boost
Serve the cakes with a fried egg on top and a sprinkle of chives. The combination of crispy potatoes, melted cheese, and runny yolk makes for a decadent breakfast that feels indulgent yet hearty.
Storing and Bringing It Back to Life
Fridge Storage
Cool the cakes completely, then place them in an airtight container. Store in the refrigerator for up to three days. When ready to eat, reheat in a skillet over medium heat until the crust is crisp again.
Freezer Friendly
Pack the cooled cakes in a freezer bag, removing excess air. They can be frozen for up to two weeks. Thaw overnight in the refrigerator before reheating.
Best Reheating Method
Reheat in a pre‑heated oven at 350°F for 10 minutes, or in a skillet with a splash of oil to restore crispness. Add a tiny splash of water before reheating; it steams the interior, preventing dryness.