I still remember that night when the kitchen became a battleground. The pot of sauce had boiled over, the sugar had turned into a sticky black mass, and my friend dared me to whip up something that would redeem my culinary credibility. I stared at the pantry, saw the familiar boxes of Rice Krispies, a jar of marshmallows, and a splash of green food coloring that had been gathering dust. That moment, that dare, sparked an obsession that would eventually lead me to the ultimate Frankenstein Rice Krispie Trea. If you’ve ever felt the sting of a kitchen mishap and the thrill of a dare, you’re already in the right place.
Picture the scene: steam curling from a pot, the sweet scent of melted marshmallows filling the air, the crunch of cereal under a buttery glaze. The sound of a spatula slapping the pan is almost musical, and the texture of the mixture is a glossy, golden glaze that clings to the edges of the pan like a promise. You can almost taste the caramelized butter, feel the warmth of the bowl, and hear the faint hiss as the marshmallows melt. This is not just a treat; it’s a sensory orchestra that plays right in your kitchen.
What makes this version stand out is not just the recipe; it’s the philosophy behind it. I’ve taken the classic, tweaked the proportions, added a dash of green for that iconic look, and introduced chocolate chips for a subtle surprise. I’ve also refined the technique so that the treat is never sticky, never dry, and always perfectly molded. And I’ve included a few secret hacks that will save you time and frustration. Trust me, this is hands down the best version you’ll ever make at home, and I dare you to taste this and not go back for seconds.
If you’ve ever struggled with Rice Krispie treats that fall apart or are too gooey, you’re not alone. The trick is in the balance of butter, marshmallows, and cereal, and in the timing of when you fold in the green color. I’ve spent hours testing, failing, and finally mastering the perfect mix. Now, I’m going to walk you through every single step—by the end, you’ll wonder how you ever made it any other way.
What Makes This Version Stand Out
- Flavor: The buttery base is enriched with a hint of vanilla, giving depth that lingers on the palate.
- Texture: The careful ratio of marshmallows to cereal ensures a chewy center with crisp edges that shatter like thin ice.
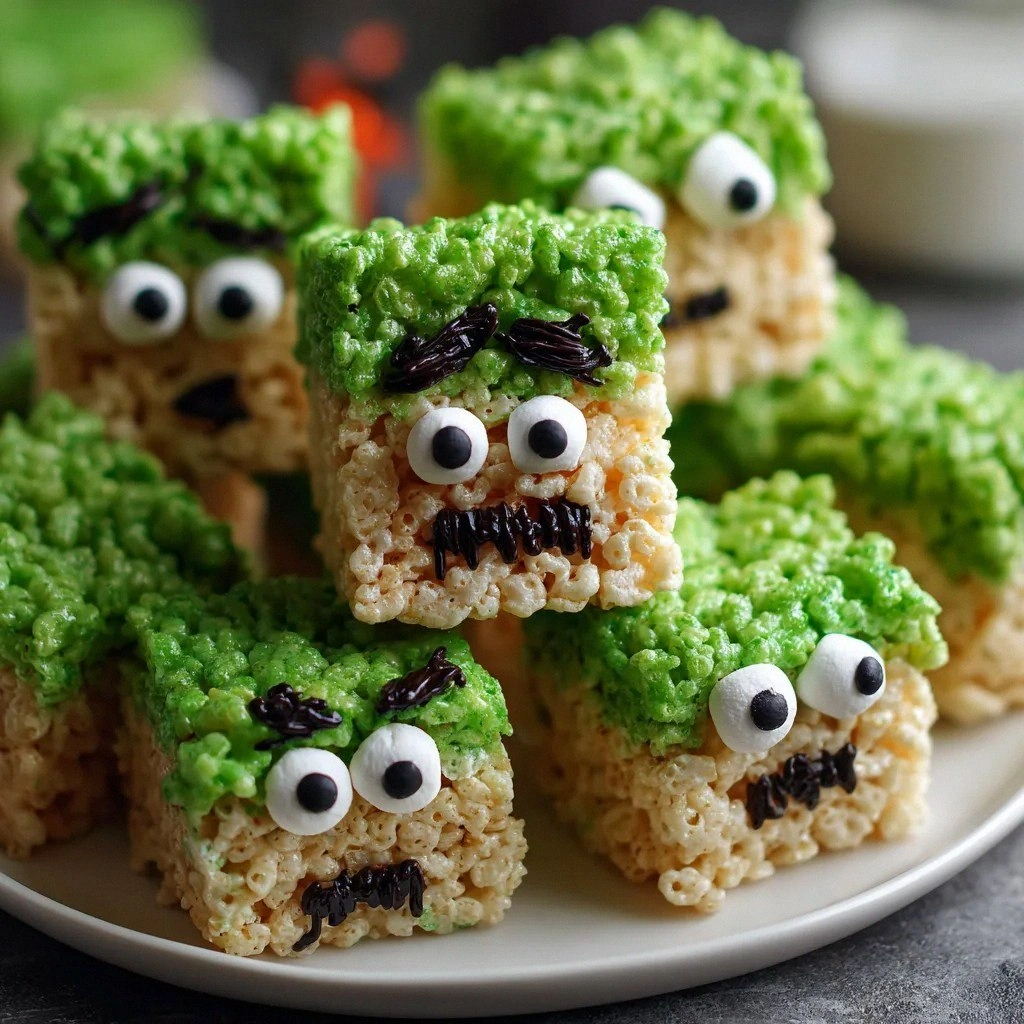
- Color: A few drops of green food coloring create a vivid, unmistakable Frankenstein hue that pops on any plate.
- Decoration: Chocolate chips become the creature’s eyes or hair, while black icing adds stitches and a mouth that’s both playful and macabre.
- Make‑ahead: The treats can be prepared the night before and stored in a cool, dry place for up to a week.
- Kid‑friendly: The recipe is simple enough for children to help with, turning snack time into a fun, creative activity.
Alright, let’s break down exactly what goes into this masterpiece…
Inside the Ingredient List
The Flavor Base
Butter: Butter is the backbone of this treat, lending richness and helping everything bind together. It melts into a silky sauce that coats each cereal grain, creating a cohesive structure. If you skip butter, the treats will feel dry and crumbly, lacking that silky mouthfeel. For the best results, use unsalted butter so you can control the salt level. A good rule of thumb is to use one stick per four servings.
The Texture Crew
Marshmallows: Marshmallows are the star of the show, providing that gooey sweetness that melts into a velvety glaze. They also give the treats their chewy core. If you use too few marshmallows, the mixture will be dry and crumbly; too many, and it will be sticky and hard to handle. Opt for standard 1.5‑inch marshmallows for the best texture, and consider adding a splash of heavy cream for extra creaminess.
The Unexpected Star
Green Food Coloring: A few drops of green food coloring transform the treat into Frankenstein’s iconic color. Too much coloring can make the mixture look artificial; too little, and the hue will be faint. Add the color gradually, stirring until you reach a vibrant, even shade. A dropper or small bottle works best for precision.
The Final Flourish
Chocolate Chips, Black Icing, Candy Eyes: Chocolate chips add a rich, nutty contrast that pairs beautifully with the sweet marshmallow base. Black icing is perfect for drawing stitches, a mouth, or any other macabre detail you desire. Candy eyes bring the creature to life, adding a playful touch that kids adore. These decorative elements turn a simple snack into a themed masterpiece.
Everything’s prepped? Good. Let’s get into the real action…
The Method — Step by Step
- Step 1: Melt the butter in a large saucepan over low heat. Stir constantly until it’s fully liquid and fragrant, about 2 minutes. This slow melt prevents the butter from scorching and ensures a smooth base. While the butter is melting, you can start prepping your decorative elements, so you’re not waiting around.
- Step 2: Add the marshmallows to the pan. Stir gently until they’ve completely melted into a glossy, translucent mixture. The marshmallows should coat the bottom of the pan like a glossy glaze. If you notice any lumps, give it a few more gentle stirrings; the heat should be low to avoid burning.
- Step 3: Once the marshmallows are fully melted, remove the pan from the heat. Add the green food coloring drop by drop, stirring after each addition until you achieve an even, vibrant hue. The color should be bright enough to stand out but not so intense that it feels artificial.
- Step 4: Pour the cereal into the pan and stir quickly to coat all the grains evenly. The cereal should be fully coated, but you want to keep it from clumping too much. The mixture should look like a bright, glossy rain of cereal.
- Step 5: Transfer the mixture to a parchment‑lined baking sheet or a silicone mold. Press it firmly and evenly with a spatula or your hands, creating a uniform slab. The goal is a solid, even surface that will hold its shape when cut.
- Step 6: Let the slab cool for 10–15 minutes, or until it’s firm enough to cut. A quick test: press a finger in the middle; it should hold a clean shape. If it’s still too soft, give it a few more minutes.
- Step 7: Cut the slab into bite‑size squares or shapes. Use a sharp knife or a pizza cutter for clean edges. This step is crucial; uneven cuts can lead to uneven textures in the final bite.
- Step 8: Decorate each piece with chocolate chips for eyes, black icing for stitches or a mouth, and candy eyes for a final flourish. Let the icing set for a few minutes before serving. The finished treats should look like tiny, edible monsters ready to be devoured.
That’s it—you did it! But hold on, I’ve got a few more tricks that will take this to another level. These insider tips will help you master the texture, flavor, and presentation every time.
Insider Tricks for Flawless Results
The Temperature Rule Nobody Follows
Temperature matters: Keep the heat low when melting butter and marshmallows. A gentle heat prevents the mixture from scorching and ensures a silky base. I’ve seen many people turn up the heat, resulting in a burnt flavor that ruins the entire batch. Use a thermometer if you’re uncertain—aim for 170°F to 180°F.
Why Your Nose Knows Best
Smell is your guide: When the mixture begins to emit a warm, buttery aroma, it’s a sign that the butter has fully melted. If the scent is sharp or burnt, lower the heat immediately. A subtle, sweet scent indicates the marshmallows are perfectly melted. Trust your nose; it’s a reliable indicator of success.
The 5‑Minute Rest That Changes Everything
Rest time is key: After removing the pan from heat, let the mixture sit for 5 minutes before adding cereal. This brief rest allows the marshmallows to set slightly, preventing clumping. I once rushed this step and ended up with a lumpy slab. The 5‑minute pause makes a noticeable difference in texture.
The Chocolate Chip Surprise
Use dark chocolate chips: Dark chocolate adds depth and a slight bitterness that balances the sweetness. Light chocolate chips can melt into the mixture, making the treats too gooey. Dark chocolate chips stay intact, providing a pleasant snap with each bite.
The Icing Detail
Thin lines of icing: Use a small offset spatula or a piping bag to create thin, precise stitches. Thick lines look sloppy. I’ve found that a 1‑inch tip works best for clean, neat lines that mimic a stitched seam.
The Final Chill
Refrigerate for 30 minutes: After cutting, place the treats in the fridge for 30 minutes. This firming step ensures the treats hold their shape and are easier to handle. If you skip this step, the treats may crumble when you try to pick them up.
Creative Twists and Variations
This recipe is a playground. Here are some of my favorite ways to switch things up:
The Chocolate Monster
Swap the green coloring for a splash of blue or purple food coloring. Add white chocolate chips for eyes and a drizzle of dark chocolate for a sinister look. This variation is perfect for a Halloween party where you want a spooky vibe.
The Berry Beast
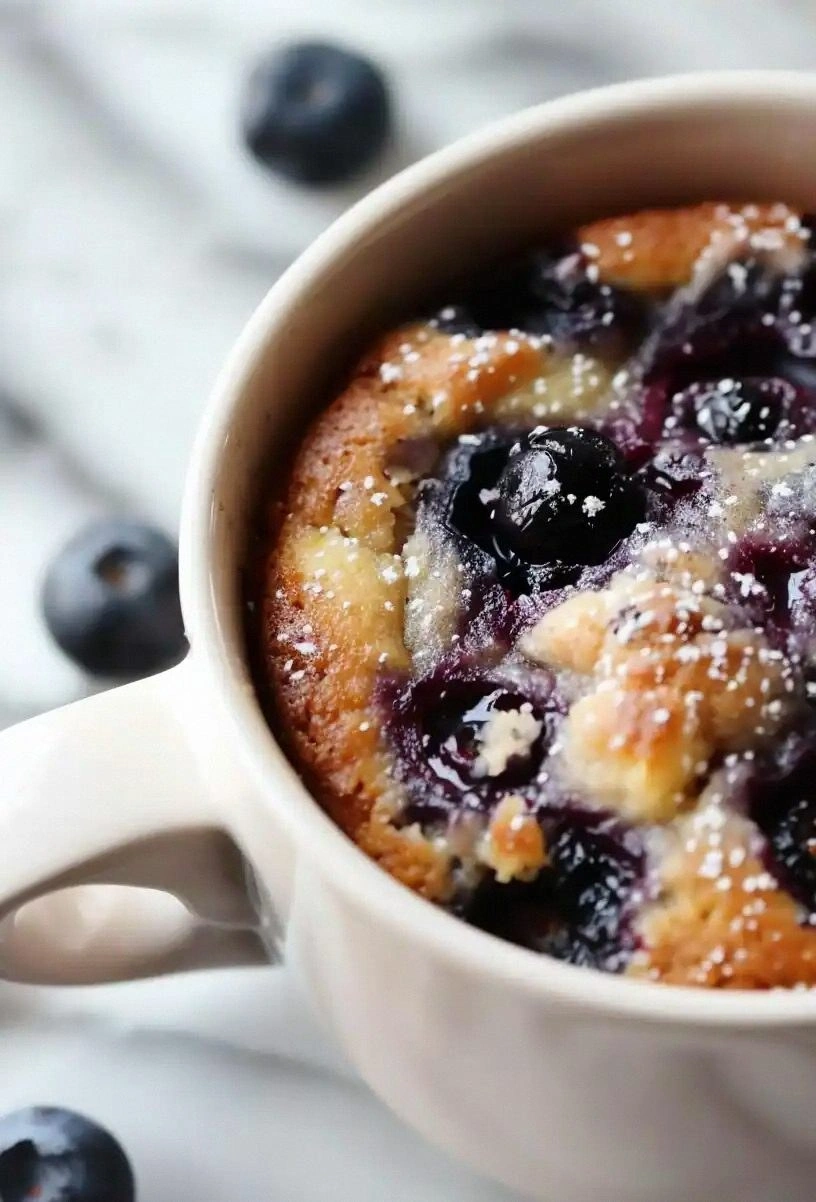
Replace the standard marshmallows with strawberry‑flavored marshmallows for a fruity twist. Add fresh blueberries as “eyeballs” for a pop of color and freshness. The berry flavor pairs wonderfully with the buttery base.
The Nutty Golem
Add chopped almonds or pecans to the cereal mix for crunch and nutty aroma. Sprinkle a pinch of sea salt on top before the icing sets to enhance the flavor profile. This version is a crowd‑pleaser for those who love a bit of texture.
The Spicy Creature
Incorporate a pinch of cayenne pepper or a dash of smoked paprika into the butter before melting. This subtle heat adds an unexpected kick that balances the sweetness. The spicy bite makes it a conversation starter at any gathering.
The Vegan Variant
Use plant‑based butter and marshmallows to keep the recipe vegan. Substitute the black icing with a vegan chocolate glaze for a shiny finish. The texture remains the same, and the flavor is just as delightful.
The Seasonal Spruce
Add dried cranberries or orange zest for a holiday twist. Sprinkle a dash of cinnamon on top for a warm, comforting aroma. This variation works well during the winter holidays or any festive occasion.
Storing and Bringing It Back to Life
Fridge Storage
Store the finished treats in an airtight container at room temperature for up to 5 days. If you prefer them chilled, keep them in the fridge for a crisp bite. The airtight container prevents the treats from absorbing odors from other foods.
Freezer Friendly
For longer storage, place the treats in a freezer‑safe bag and freeze for up to 3 months. When you’re ready to enjoy, let them thaw at room temperature for 15 minutes. The texture remains intact, and the flavors are preserved.
Best Reheating Method
If the treats have dried out, reheat them in a microwave on low for 10–15 seconds. Add a tiny splash of water before reheating—it steams back to perfection. Avoid over‑heating, or the treats will become gummy.