Picture this: you’re standing in a kitchen that smells like burnt popcorn and old coffee, the timer on the microwave has been running for an hour, and you’re staring at a mound of chocolate‑laden batter that has somehow turned into a sticky, unrecognizable mess. I was in that exact situation, my friends were on a mission to rescue dessert from disaster, and I was about to unleash the ultimate rescue—my No‑Bake Cottage Cheese Brownie. The moment I mixed the first spoonful of cottage cheese with a splash of honey, the kitchen was suddenly alive with a sweet, creamy aroma that made the burnt popcorn disappear in an instant.
I was already craving chocolate, but this wasn’t your ordinary brownie. The texture felt like a cloud that’s just been pressed into a pan—soft, yet dense enough to hold a bite. The chocolate flavor hit you like a velvet blanket, with the cocoa’s earthy undertones cutting through the sweetness of honey. The subtle nuttiness from the chopped seeds whispered under the surface, and the mini chocolate chips added a burst of gooey joy that danced on your tongue. If you’re a fan of desserts that look like they belong in a bakery, but are made in a kitchen with zero oven, this is your new holy grail.
Why does this version stand out? Because it takes the humble cottage cheese and transforms it into a protein‑rich, guilt‑free brownie that still feels indulgent. It’s a marriage of creamy texture, deep chocolate flavor, and a touch of natural sweetness—all without the heat that often turns brownies into a sticky mess. I dare you to taste this and not go back for seconds. And if you’ve ever struggled with making brownies that are both fudgy and healthy, you’re not alone—this recipe is the fix you’ve been waiting for.
Let me walk you through every single step—by the end, you’ll wonder how you ever made it any other way. This isn’t just a recipe; it’s a culinary revelation that will have your friends asking for the secret. Stay with me, because the next part? Pure magic. The final bite will feel like a chocolate hug that’s also a protein boost.
What Makes This Version Stand Out
- Texture: The cottage cheese creates a silky, dense body that holds shape without baking, giving you that classic brownie bite with a melt‑in‑your‑mouth finish.
- Flavor: Dark cocoa powder provides an intense chocolate profile that balances the natural sweetness of honey, resulting in a complex taste that’s far from sugary.
- Protein: One scoop of protein powder turns these brownies into a post‑workout treat, packing more than 25 grams of protein per serving.
- Convenience: No oven, no waiting—just blend, chill, and serve. This is hands down the best version you’ll ever make at home.
- Versatility: Swap in your favorite nuts, seeds, or dried fruit for endless flavor variations, making it perfect for any dietary preference.
- Make‑ahead: Chill for a few hours or overnight, and they stay fresh, making them ideal for parties, school lunches, or a quick snack.
- Low Carb: With minimal added sugars and a high protein content, these brownies fit into a low‑carb or keto lifestyle.
- Kid‑Friendly: The sweet, creamy taste is a hit with children, and the protein boost keeps them satisfied longer.
Alright, let's break down exactly what goes into this masterpiece…
Inside the Ingredient List
The Flavor Base
The cornerstone of this brownie is the cottage cheese. It’s the creamy canvas that carries the chocolate flavor. When you blend it with honey, the natural sugars caramelize slightly in your mouth, adding a subtle depth that plain dairy never could. Skipping it would turn these into dry, crumbly bites that lack that signature melt‑in‑your‑mouth texture.
The Sweetener
Honey is the sweetener of choice because it adds both sweetness and a touch of floral aroma. It also provides a slight viscosity that helps bind the batter. If you’re allergic to honey or prefer a different sweetener, try maple syrup or a sugar substitute that measures 1:1.
The Chocolate
Unsweetened cocoa powder is the star that gives these brownies their deep, rich chocolate flavor. It’s also packed with antioxidants, making it a healthier choice than sweetened cocoa. If you want a sweeter chocolate kick, add a pinch of sea salt to balance the bitterness.
The Protein Boost
Protein powder is what turns this dessert into a post‑workout treat. It adds a subtle vanilla flavor and gives the brownies a firm structure. Use a unflavored or vanilla‑infused protein powder to keep the flavor profile consistent.
The Texture Crew
Chopped nuts or seeds add crunch and a nutty aroma. They also introduce healthy fats, which help keep you full. If you’re vegan, substitute with pumpkin or sunflower seeds for a similar crunch.
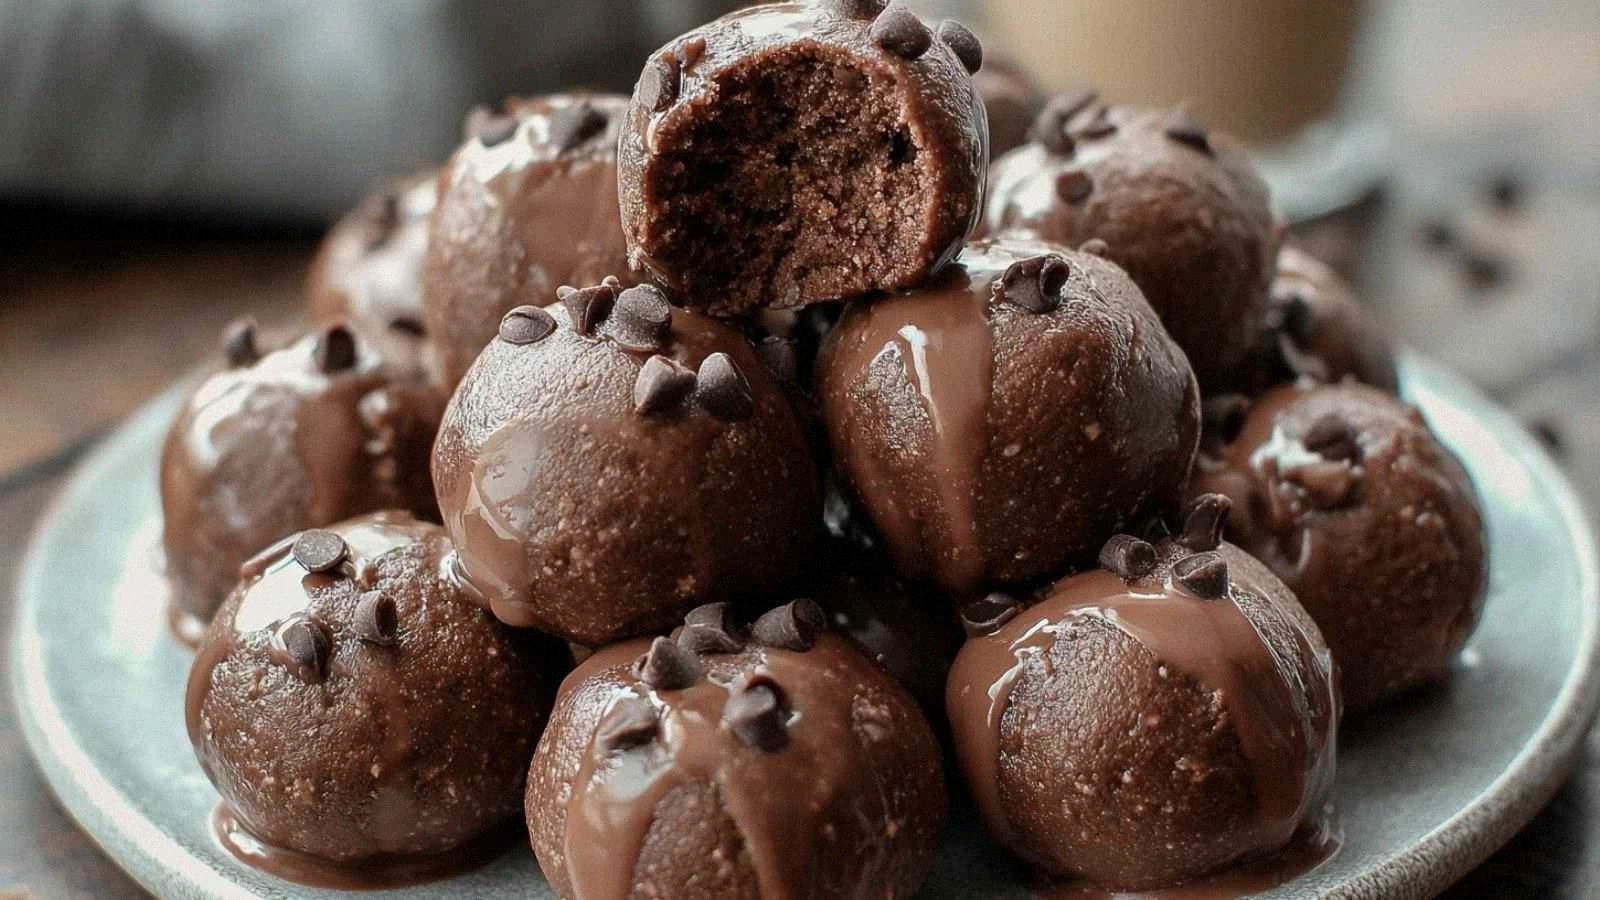
The Unexpected Star
Mini chocolate chips are the surprise element that melts into the brownie, creating pockets of gooey chocolate that explode with each bite. They also give the brownies a classic brownie look. For a chocolatey twist, swap them for white chocolate chips or even a handful of dried cranberries for a tart contrast.
Everything's prepped? Good. Let's get into the real action…
The Method — Step by Step
- First, gather all your ingredients. I like to pre‑measure everything because timing is key when you’re working with a no‑bake recipe. Set your bowl and tools ready, and make sure the cottage cheese is at room temperature—this ensures a smoother blend.
- Pour the cottage cheese into a blender or food processor. Add the honey and a teaspoon of vanilla extract. Blend until the mixture is silky and free of lumps. The sound of the blender will tell you it’s ready—no more thick chunks.
- Next, sift in the unsweetened cocoa powder. The sifting removes any clumps and gives the batter a smooth, even chocolate color. If you notice any grit, give it a quick pulse to dissolve it fully.
- Add the protein powder to the blender. This step is crucial because it helps bind the brownie together. Blend again until everything is fully integrated and the batter has a thick, mousse‑like consistency.
- Transfer the batter to a mixing bowl. Fold in the chopped nuts or seeds, then sprinkle in the mini chocolate chips. Mix gently with a spatula—over‑mixing can break the chocolate chips and ruin the texture.
- Line a 9×9 inch baking dish with parchment paper, leaving some overhang for easy removal. Spoon the batter into the dish, smoothing the top with a spatula. The batter should look glossy and dense.
- This is the moment of truth—place the dish in the refrigerator for at least 2 hours. The cold sets the structure, giving the brownies that firm bite. If you’re in a hurry, 45 minutes will still give a decent set.
- After chilling, lift the brownies using the parchment overhang. Slice into squares or bars, and serve immediately or store in an airtight container. These brownies can be kept in the fridge for up to a week.
That’s it— you did it. But hold on, I've got a few more tricks that'll take this to another level. These are the subtle touches that separate a good brownie from a legendary one.
Insider Tricks for Flawless Results
The Temperature Rule Nobody Follows
The key to a firm yet tender brownie is keeping the batter cold from start to finish. I keep my fridge at 35°F (1.7°C) and chill the batter for a full 3 hours. This reduces the chance of the brownies becoming too soft when you first cut into them. If you’re in a hurry, a 30‑minute chill will still give a good set, but the texture will be a bit softer.
Why Your Nose Knows Best
Before you chill, give the batter a quick sniff. A faint scent of chocolate should be present, but if it smells too much like raw dairy, let it sit for another 5 minutes. The aroma is a good indicator of how well the flavors are marrying.
The 5‑Minute Rest That Changes Everything
After you cut the brownies, let them rest on a wire rack for 5 minutes. This allows the edges to firm up a bit, preventing them from falling apart when you pick them up. It also lets the chocolate chips set, so they don’t melt into the batter.
The Secret to a Crispy Edge
If you want a slightly crisp edge, sprinkle a thin layer of cocoa powder on top before chilling. This creates a subtle crust that adds texture and depth of flavor.
The Sweet‑and‑Savory Twist
Add a pinch of sea salt to the batter before chilling. The salt balances the sweetness and intensifies the chocolate flavor, giving you that classic brownie experience.
Creative Twists and Variations
This recipe is a playground. Here are some of my favorite ways to switch things up:
Almond Joy Version
Swap the mini chocolate chips for shredded coconut and add a tablespoon of almond butter. The coconut adds tropical sweetness, while the almond butter deepens the nutty flavor.
Minty Fresh
Add a teaspoon of peppermint extract to the batter and sprinkle crushed peppermint candies on top. This gives a refreshing mint kick that pairs wonderfully with chocolate.
Spiced Delight
Stir in a pinch of cinnamon, a dash of nutmeg, and a few drops of orange zest. The warm spices bring an autumnal vibe that’s perfect for fall gatherings.
Berry Burst
Fold in a handful of dried cranberries or chopped dried blueberries. The tartness from the berries balances the sweetness and adds a pop of color.
Nutty Crunch
Use a mix of chopped walnuts, pecans, and almonds instead of a single type of nut. The varied textures create a complex mouthfeel, and each nut brings its own subtle flavor.
Coconut Cream
Replace the cottage cheese with coconut cream for a dairy‑free version. The coconut adds a subtle tropical sweetness and a silky texture that’s just as satisfying.
Storing and Bringing It Back to Life
Fridge Storage
Store the brownies in an airtight container in the refrigerator for up to one week. The cold keeps the texture firm and prevents the chocolate chips from melting. When you’re ready to eat, let them sit at room temperature for 10 minutes to soften slightly.
Freezer Friendly
For longer storage, wrap each brownie individually in plastic wrap and place them in a freezer bag. They’ll stay fresh for up to three months. Thaw in the refrigerator overnight before serving.
Best Reheating Method
If you prefer a warmer brownie, microwave each square for 10–15 seconds. Add a tiny splash of water before microwaving—this steams the brownie back to perfection, restoring moisture without drying it out.