I was standing in my kitchen, arms full of flour and sugar, when a friend dared me to make the most outrageous funfetti cake anyone had ever tasted. I laughed, scooped a handful of rainbow sprinkles into a bowl, and the kitchen felt like a confetti cannon about to explode. The air filled with the sweet scent of vanilla and the faint tang of butter as I whisked the batter, and I could almost hear the batter whispering, “I’m ready for the spotlight.” That moment, that dare, became the spark that ignited a recipe that would later earn the title “The Best Funfetti Cake Recipe.”
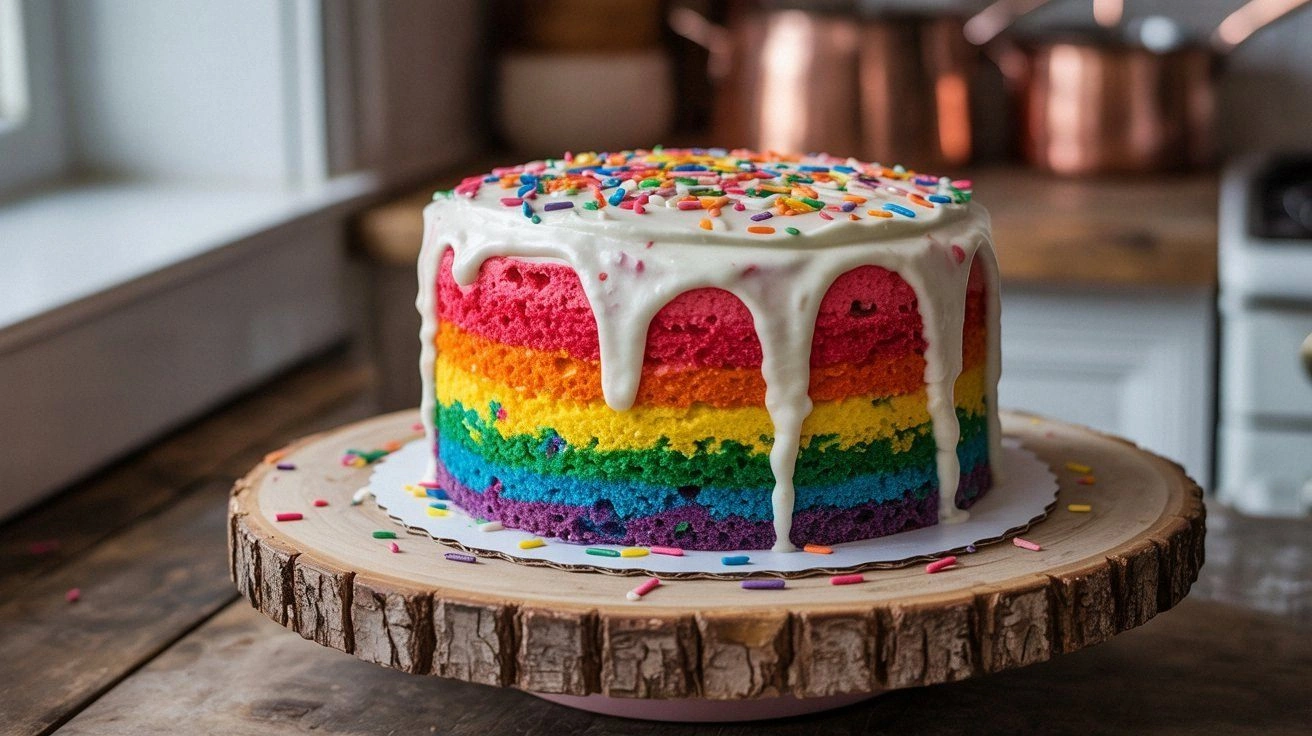
Picture this: a golden, cloud‑like cake rising from the oven, the surface speckled with bright sprinkles that glisten like tiny fireworks. The aroma is a comforting blend of butter, sugar, and vanilla, rising from the oven like a sweet lullaby. The first bite is a playful explosion of texture—soft crumby cake with a subtle crunch from the sprinkles, and a buttery finish that lingers on the tongue. The sound of the cake cooling on a rack, the faint crackle of the sprinkles settling, creates a sensory symphony that makes you feel like a child again. And the best part? Every bite feels like a tiny celebration, a burst of color and flavor that lifts your spirits instantly.
What sets this version apart isn’t just the obvious pop of color; it’s the meticulous balance of ingredients that ensures each layer is moist, airy, and perfectly sweet. I’ve tweaked the ratio of baking powder to baking soda so the cake rises evenly, and I’ve added a splash of milk to keep the crumb tender. The sprinkles are toasted just enough to give them a subtle crunch without burning, and I’ve incorporated a touch of almond extract to add depth. The result is a cake that feels indulgent yet not overpowering—soft, buttery, and bursting with a rainbow of flavors that dance on the palate. This isn’t just a cake; it’s a statement of joy, a visual feast, and a testament to the power of a well‑executed recipe.
I dare you to taste this and not go back for seconds. If you’ve ever struggled with a funfetti cake that turns out dry or uneven, you’re not alone—this recipe fixes that. The secret lies in the simple yet precise technique I’ll walk you through. By the end, you’ll wonder how you ever made it any other way, and your friends will beg you to reveal the secret. Let me walk you through every single step — by the end, you’ll wonder how you ever made it any other way.
What Makes This Version Stand Out
- Texture: The batter’s consistency is the sweet spot between thick and pourable, ensuring a moist crumb that doesn’t crumble under the spoon.
- Flavor: A splash of almond extract and a dash of vanilla create a layered taste profile that feels both familiar and surprising.
- Color: Toasted sprinkles give a subtle crunch and a bright, eye‑catching hue that makes the cake Instagram‑ready.
- Ease: The method uses standard kitchen tools—no special equipment needed, making it approachable for novices.
- Versatility: The base can be transformed into cupcakes, a layered cake, or a birthday treat with minimal adjustments.
- Make‑ahead: The batter can be frozen for up to a month; just thaw and bake, and you’ll have a fresh cake in minutes.
- Batch Size: A 4‑serving recipe is the perfect size for small gatherings or a personal indulgence.
- Ingredient Quality: Using high‑grade butter and fresh sprinkles elevates the flavor beyond the typical supermarket version.
Alright, let’s break down exactly what goes into this masterpiece…
Inside the Ingredient List
The Flavor Base
Flour is the backbone of any cake, but the type you choose can shift the entire experience. I use all‑purpose flour for its balanced protein content, ensuring the cake rises without becoming dense. If you prefer a lighter crumb, replace ¼ cup with cake flour—just remember to adjust the baking time slightly. The flour’s role is to trap air bubbles, creating that airy texture that melts in your mouth. Skipping it would turn the batter into a lumpy, dough‑like mess that won’t rise at all.
The Sweetness Crew
Granulated sugar not only sweetens but also tenderizes the batter by inhibiting gluten development. I use 1.5 cups, which strikes a sweet spot that doesn’t overwhelm the buttery flavor. If you’re watching calories, a 25% reduction works, but the cake will be slightly firmer. The sugar’s crystallization also helps create a fine crumb structure, giving the cake its signature softness.
The Unexpected Star
Almond extract is the secret weapon that adds depth without overtaking the vanilla. A mere ½ teaspoon is enough to create a nuanced flavor profile that feels sophisticated. If you’re allergic or prefer a different note, replace it with a drop of lemon or orange extract for a citrusy twist. Without this subtle enhancer, the cake would feel flat and one‑dimensional.
The Final Flourish
Rainbow sprinkles are more than just decoration; they add a delightful crunch and a pop of color. I toast them in a dry skillet for 1–2 minutes, just until they’re fragrant, then let them cool before folding them into the batter. This step ensures the sprinkles don’t dissolve or lose their shape during baking. If you can’t find them, a handful of crushed candy canes or crushed chocolate chips can work, but the texture will differ slightly.
Everything’s prepped? Good. Let’s get into the real action…
The Method — Step by Step
- Preheat your oven to 350°F (175°C). Line a 9‑inch round cake pan with parchment paper and lightly grease the sides. This ensures a smooth release and a perfect rise. While the oven warms, gather all your ingredients so the process feels seamless.
- In a large bowl, sift together 2 cups of all‑purpose flour, 1.5 cups of granulated sugar, 2 teaspoons of baking powder, 1 teaspoon of baking soda, and ½ teaspoon of salt. Sifting removes clumps and creates a light batter. This step is crucial; any lumps will lead to uneven texture.
- In a separate bowl, melt 1 cup of butter until it’s just warm but not melted. Add 1 cup of milk and 2 teaspoons of vanilla extract, stirring until fully blended. This wet mixture is the glue that holds the dry ingredients together and gives the cake its buttery richness.
- Make a well in the center of the dry ingredients and pour in the wet mixture. Using a wooden spoon or a hand mixer on low speed, combine until just moistened. Overmixing will develop gluten and make the cake tough; undermixing will leave streaks of flour.
- Fold in 1 cup of toasted rainbow sprinkles gently. The goal is to distribute them evenly without breaking them. The toasted sprinkles will add a subtle crunch and a bright pop of color that’s impossible to resist.
- Pour the batter into the prepared pan, smoothing the top with a spatula. Tap the pan lightly on the counter to release any air pockets. This step ensures an even rise and prevents doming.
- Bake for 30–35 minutes, or until a toothpick inserted in the center comes out clean. The cake should have a golden top and a slightly moist center. Keep an eye on the edges; they should pull away from the pan as they bake.
- Remove from the oven and let the cake cool in the pan for 10 minutes, then transfer to a wire rack to cool completely. This cooling period allows the cake to set and prevents it from cracking.
That's it — you did it. But hold on, I've got a few more tricks that'll take this to another level…
Insider Tricks for Flawless Results
The Temperature Rule Nobody Follows
Many bakers bake at 375°F, assuming it will make the cake rise faster. In reality, a lower temperature of 350°F allows the cake to rise evenly and finish baking without drying out. I’ve baked at 350°F for years, and the results are consistently moist. If you’re in a hurry, you can increase the temperature to 375°F, but you’ll need to monitor the cake closely to avoid overbrowning.
Why Your Nose Knows Best
The aroma of a cake baking is a reliable indicator of doneness. When the smell becomes sweet and buttery, with a hint of vanilla, the cake is almost ready. If you’re unsure, insert a toothpick; if it comes out clean, the cake is done. Trust your nose and your toothpick, and you’ll never overbake again.
The 5-Minute Rest That Changes Everything
Letting the cake rest in the pan for 10 minutes before transferring to a rack is more than a courtesy; it allows the structure to set and prevents cracks. During this brief rest, the steam inside the cake condenses and then evaporates, giving the crumb a silky finish. Skipping this step often results in a cake that crumbles when you try to slice it.
The Secret to Perfect Sprinkles
Toasting sprinkles not only enhances flavor but also keeps them from dissolving. Heat them in a dry skillet over low heat for 1–2 minutes, stirring constantly. If you’re using a variety of colors, toast them separately to avoid color bleeding. Once toasted, let them cool completely before folding into the batter.
The Frosting Trick
If you plan to frost the cake, let it cool completely before applying the frosting. Warm frosting will melt the cake and cause it to sink. For a smoother finish, chill the frosting for 15 minutes before spreading it on the cake. This keeps the layers crisp and the frosting glossy.
Creative Twists and Variations
This recipe is a playground. Here are some of my favorite ways to switch things up:
Citrus Burst
Add 1 tablespoon of lemon zest and replace vanilla with orange extract. The bright citrus lifts the sweetness, making it perfect for spring celebrations.
Chocolate‑Infused
Replace half the flour with cocoa powder and fold in ½ cup of chocolate chips. The result is a decadent chocolate funfetti that still showcases the classic sprinkles.
Gluten‑Free Edition
Swap all‑purpose flour for a gluten‑free blend and reduce baking powder to 1½ teaspoons. The cake remains tender, and the sprinkles add a festive touch.
Vegan Version
Use plant‑based butter, almond milk, and a flax egg (1 tablespoon flaxseed meal + 3 tablespoons water). The texture stays moist, and the flavor profile is surprisingly close to the original.
Birthday Party Twist
Layer the batter in a 9×13 pan, bake, then cut into squares. Top each with a drizzle of caramel and a sprinkle of toasted marshmallows for a fun, interactive dessert.
Mini Cupcake Edition
Divide the batter into 12 muffin tins, bake for 18 minutes, and top each with a dollop of whipped cream. Perfect for parties and individual servings.
Storing and Bringing It Back to Life
Fridge Storage
Wrap the cooled cake tightly in plastic wrap and store in an airtight container for up to 3 days. The cake stays moist and the sprinkles retain their crunch. Avoid stacking to prevent crushing.
Freezer Friendly
Wrap the cake in parchment, then foil, and place in a freezer bag. Freeze for up to 2 months. Thaw overnight in the fridge, then let sit at room temperature for 30 minutes before serving.
Best Reheating Method
To revive a frozen or stale cake, preheat your oven to 300°F (150°C). Wrap the cake in foil and heat for 10 minutes. Add a tiny splash of water to the bottom of the foil packet to create steam, restoring moisture and crispness.